Android
Installing OneSky on Android
OneSky for Android helps developers actualize cross-platform localization experience quickly with out-of-box solutions. Save hundreds of hours in finding and trying out best practices. You can mix-and-match building blocks with your own implementations if needed.
Step 1 - Configure the Display Interface Language effect
If you’re new to OneSky, you’ll need to create an account. You can sign in to the dashboard to configure localization effects. The "Display Interface Texts" effect determines which language gets displayed to your end-users.
In particular configure the following:
-
What languages do you want to make available to the user to select?
Check "Published" checkbox for languages to display to your end-users. -
What is the source language of your site?
Check "Default" checkbox -
How do you want to handle transition when a user switches language?
Under Webpage Transitions, type in the text that you want to append to your URL whenever there's a change in user selection for each language.
Also check 'Reload page when transit' if you want the page to refresh after your users have amended their language selection.
Step 2 - Obtain Your API Key
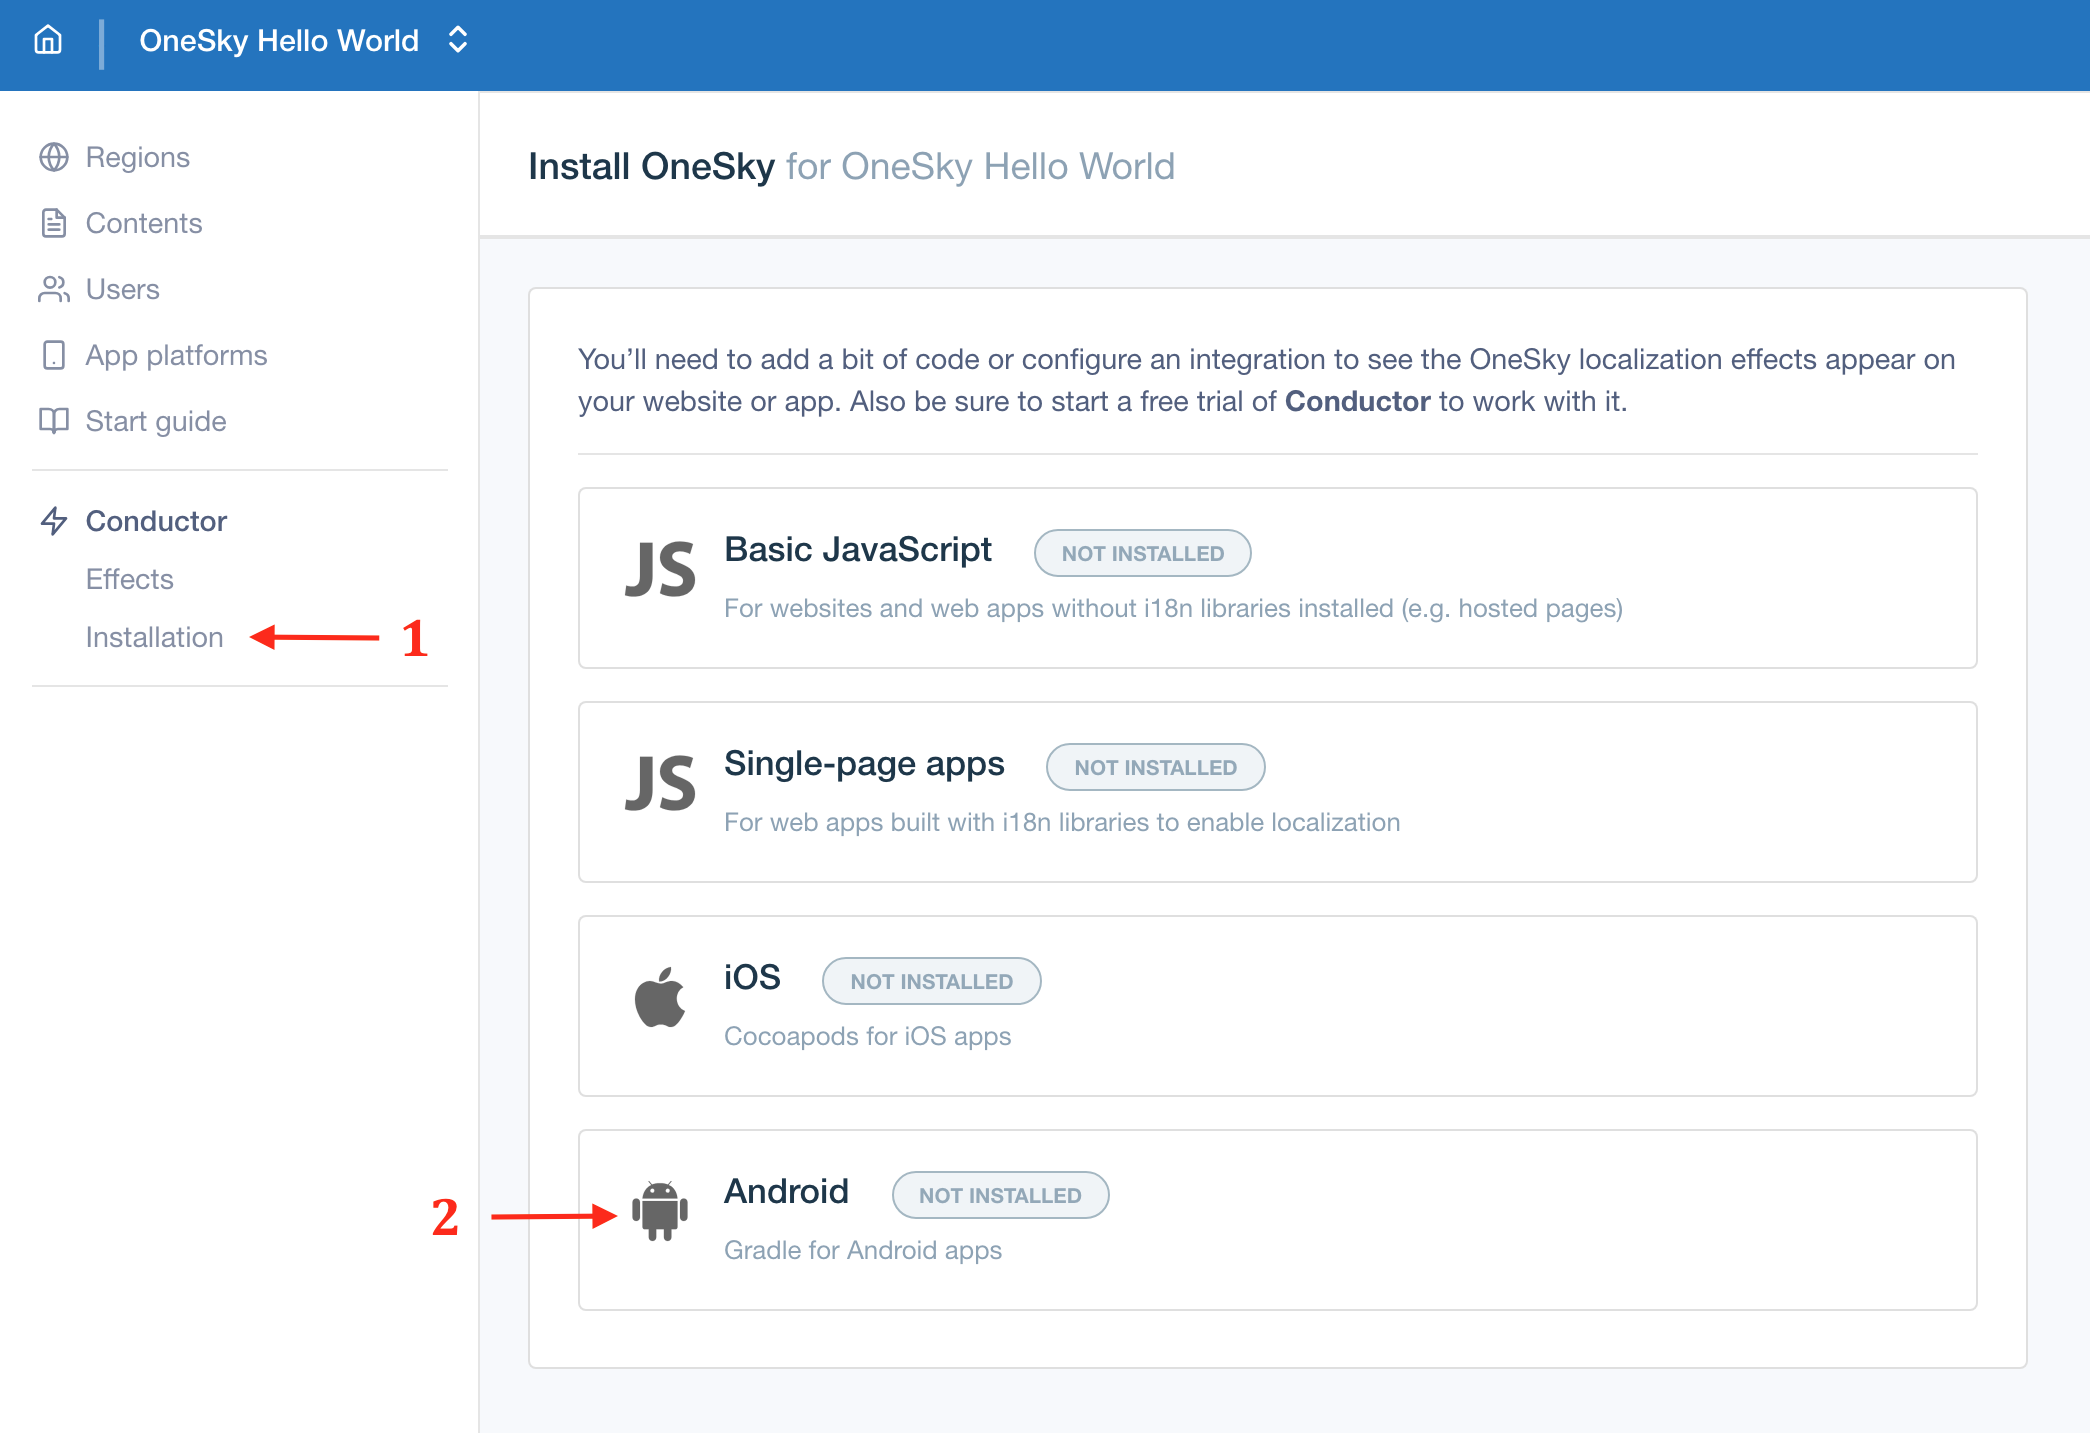
Obtain your API key via Conductor > Installation on the dashboard
Step 3 - Apply OneSky Conductor plugin
You can find the build script snippet from installation page:

then you can copy the snippets and paste them into corresponding script blocks to your app's top-level project Gradle build file build.gradle file to install OneSky:
buildscript {
    repositories {
        ...
        maven { url 'https://onesky-sdks-prod.firebaseapp.com/maven' }
    }

    dependencies {
        ...
        classpath 'app.onesky.android:onesky-conductor:0.0.2'
    }
}

apply plugin: 'app.onesky'

OneSky {
    appId = "YOUR_APP_ID"
    apiKey = "YOUR_ANDROID_API_KEY"
    resourceDirectoryRelativePath = "app/src/main/res/" // You may change it to point to the correct resource folder
}
Step 2 - Run OneSky Conductor task
The OneSky Conductor task localize synchronizes string files on compilation stage. To execute the task, run the Gradle 'localize' task with the following command under the project directory:
./gradlew localize
If you want to run the task every time automatically when you build a project, you can configure it to be run before build task, e.g.
preBuild.dependsOn localize
So you don't need to run the command ./gradlew localize manually to update the string files or language folders in every build process to check whether source or translated strings have been updated.
Updated almost 2 years ago